Splicing the image sections
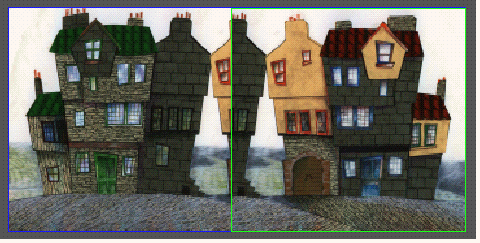
When you've finished scanning the background, the Splice Window holds the various scanned sections, overlapping each other. The example background below has two scanned sections:

You're now ready to position the image sections so they make a spliced background.
About the Splice Window toolbox
The Splice Window has a toolbox that you'll use to create your spliced background. To display the toolbox, click on the right mouse button over the Splice Window:

The Drag tool drags the topmost image beneath the cursor; it works the same way as the method you used earlier on to position the images approximately.

The Pan tool drags the viewpoint of the Splice Window, which is useful if you are zoomed in on a small area.

The Global View tool restores the initial view of all scanned images, and then reselects the previous tool you were using.

The Box Zoom tool zooms in on the images. Either click where you wish to zoom in, or drag a box around the region you wish to fill the window.

The Zoom Out tool zooms out to the last zoom setting you were using, and also reselects the previous tool you were using.
